Search
Complete Guide to Building Your Brewery

$19.95 USD

Support our site by using these affiliate links
Hot Liquor Tank
STEP 1: Coiling the stainless tubing for the HERMS heat exchanger
 A 50' piece of 1/2" outer diameter stainless steel tubing is used in the HLT as a heat exchanger to maintain our mash temperature. If 304 and 316 stainless steel are both available, choose 316 as it is a higher grade and is typically used in the food/beverage industry though in our application it really doesn't matter. 316 is a bit harder but for our use both are just as easy (or hard!) to bend.
The wall thickness of the tubing is not overly important. Most stainless steel tubing you'll find has a wall thickness between 0.020 to 0.035" which is perfectly adequate for our application. Our coil is on the upper end of this range and we do not have any issues with heat transfer.
Some will argue that using copper for the HERMS coil would be better given that copper is more efficient at transferring heat than stainless steel. In fluid heat transfers such as in our application, the difference is negligible. Our tests have shown that the temperature of the sweet wort exiting the HERMS coil is always equal to the temperature of water in the HLT so using copper would not have helped. In fact, we found that the two temperatures were always equal even when the temperature of the sweet wort entering the coil was considerably colder that of the HLT water. This was true even when circulating at a reasonably high rate (pump ball valve opened 50-100%).
Stainless steel is easier to clean, stronger, and holds up better over the years with contact with acidic liquids such as beer. We chose to go with stainless steel as much as possible in our setup over other metals such as copper, brass, or aluminum.
Most stainless tubing (including ours) comes in a coil with a diameter that is much too large to fit in the HLT, so we needed to re-coil it. For the best heat transfer the diameter of the re-coiled tubing should place it near the wall of the HLT (though this is not critical). The larger the diameter, the lower the coil will sit in the kettle too which in turn ensures that it remains submerged as much as possible as you use up water from the HLT.
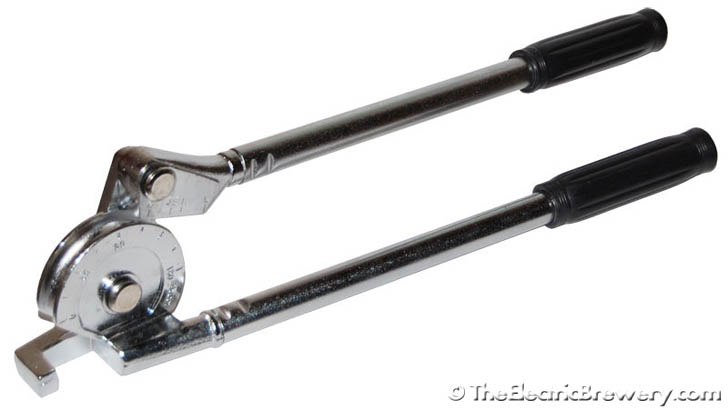
One way to re-coil or bend this 1/2" tubing is to use a manual (hand held) 1/2" tube bender. They're available starting at around $40-50. A tube bender such as the one shown below allows you to make fairly small radius turns of up to 180 degrees but is not great for wide radius turns.
Another option is to take your coil to a machine shop and show them what you want to do. Most shops will have machines to do tube bending quickly and easily and may even do it for free if you mention that it's for making beer. ;)
The tubing may also be re-coiled carefully by hand (and foot) as we did.
Whichever method you choose, be careful not to kink any of the tubing. Kinks cause structurally weak points in the coil that may break over time and also causes flow restriction. Kinking occurs when force is placed in one small location. For this reason some people will find it easier to re-coil by hand as it's nearly impossible to apply force to one small location as long as you're careful.
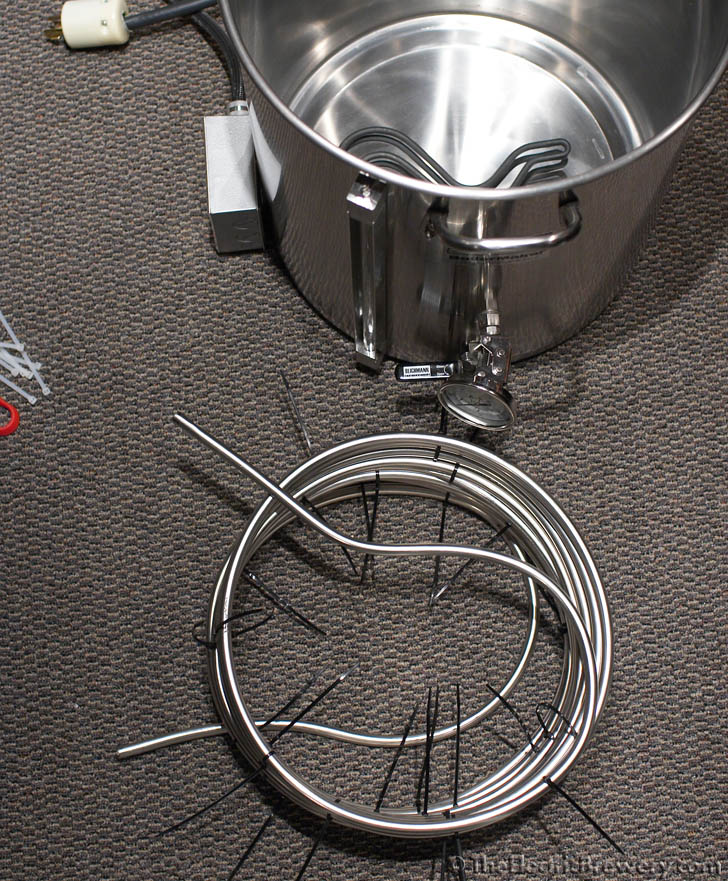
As we re-coiled carefully by hand, the coil tended to want to spring open so strong (heavy duty) nylon cable ties were used temporarily to hold the form as it was re-coiled. Pictures of the re-coiling process done by hand can be seen below. Go slowly and take your time.
 Some hints: Do not attempt to 'bend' the tube such that it stays in the proper shape when released. Instead of 'bending' the tube, we are 'repositioning' the tubing into a different sized radius and then holding it in place temporarily with the cable ties until it is permanently installed in the kettle (at which point the compression fittings take over holding the shape).
Coiling the HERMS coil has proven to be one of the most difficult aspects of building our brewery for many users (see some of the failed attempts), so we've partnered with a US-based stainless tubing company to offer coils professionally manufactured to our specifications. If you're all thumbs, considering purchasing one of these pre-coiled versions.
Before you re-coil your tubing, cut off a 3" piece off one of the ends using a hacksaw and file the edges smooth with a metal file so that there are no burrs. If you want to get a nice clean cut, use a stainless steel tubing cutter instead as it will create a perfect cut without burrs. We're going to use this small piece of stainless steel tubing later as part of our water input ball valve assembly. If you chose to purchase one of the pre-coiled versions, you'll need to supply a short piece of 1/2" OD stainless tubing and cut off a 3" piece.
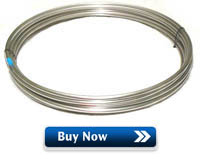
50' coil of 304/304L (or 316/316L) stainless steel tubing with 1/2" outer diameter: 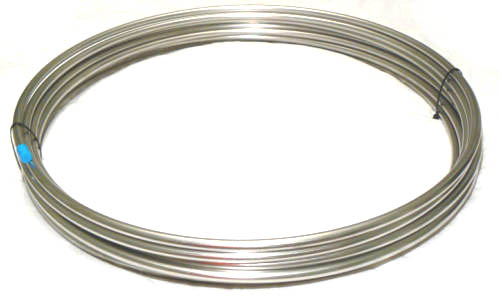
The original tubing (as received) with part of it already re-coiled to the right diameter. 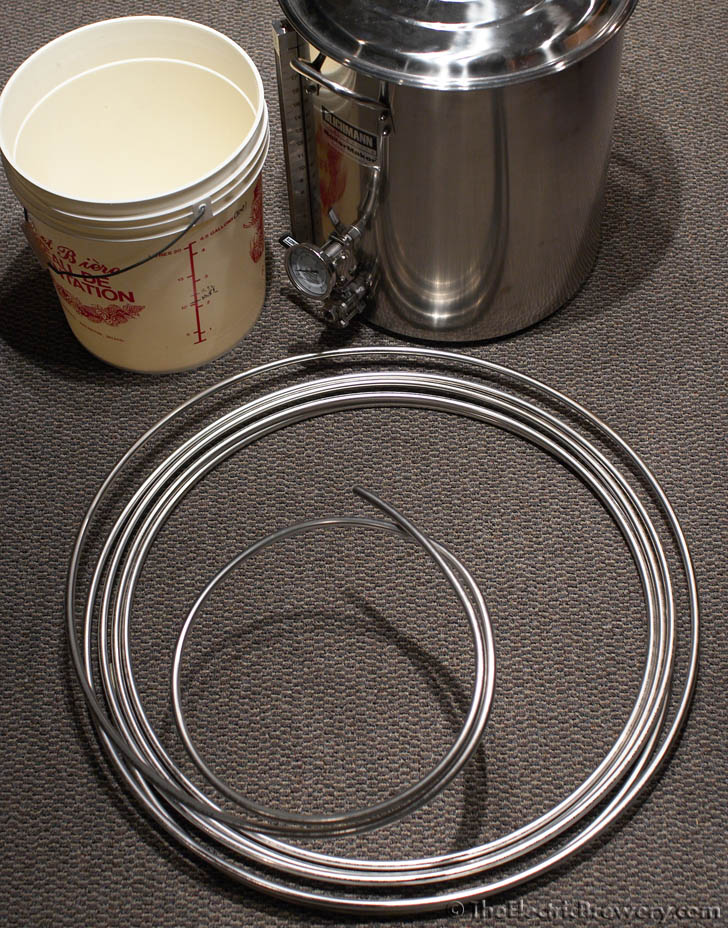
The manual re-coiling process. Strong tie wraps are used every few feet to keep the newly re-coiled tubing in place.
These will be removed once the coil is installed in the HLT.
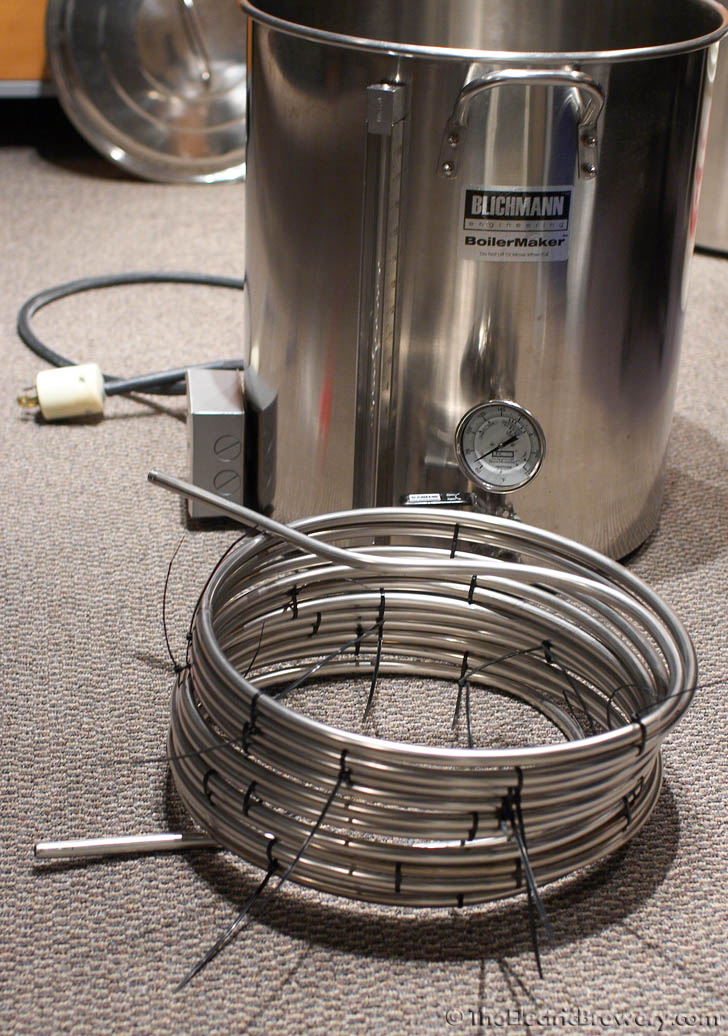
The re-coiling is almost complete: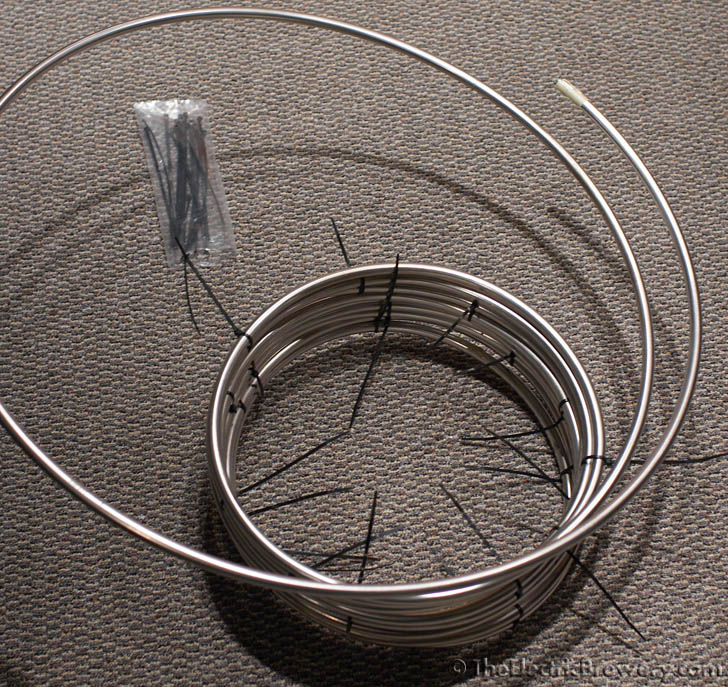
The finished coil shown beside the HLT for reference: