Search
Complete Guide to Building Your Brewery

$19.95 USD

Support our site by using these affiliate links
Hoses
STEP 2: Attach the quick disconnects
Wrap the threaded end of the female quick disconnect first with PTFE white teflon thread sealant tape to ensure a tight, leak-free fit. Then attach the 1/2" barb x 1/2" NPT female fitting and tighten using wrenches, followed by the silicone tubing and hose clamp as shown in the pictures below.
Tighten the hose clamp using a screwdriver until it is very snug and firm (cannot be pulled off). While the special smooth-band hose clamp we use is specifically designed for silicone tubing, when tightening making sure not to overtighten and damage the hose.
We do not recommend using regular hose clamps for silicone hoses as the band can cut into the hose when tightening and over time as the hose is moved. The special smooth-band hose clamps we use have a smooth band with rolled edges ideal for use with silicone tubing.
Install on both ends of the hose. Repeat for all 5 hoses.
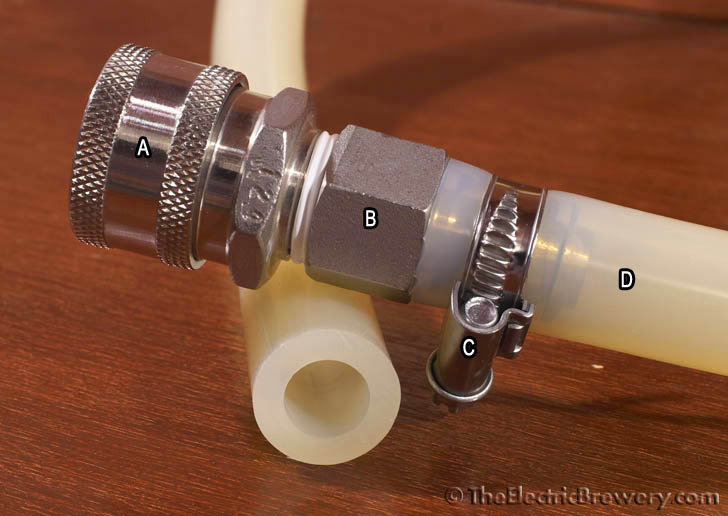
Breakdown of the hose parts:
(A) Stainless steel female quick disconnect 1/2" NPT male
(B) Stainless steel 1/2" barb x 1/2" NPT female fitting
(C) Stainless steel smooth-band worm-drive hose clamp (5/8" to 1-1/16" clamp diameter range)
(D) High temperature food-grade silicone tubing (1/2" ID 7/8" OD)
Both sets of disconnects attached:
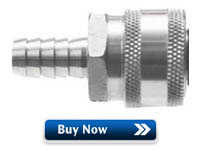 Note that the separate female quick disconnect with 1/2" NPT male fitting and 1/2" barb x 1/2" NPT female fitting that we used are also available as one single unit as a stainless steel female quick disconnect with 1/2" barb fitting (shown at right).
We opted to use two pieces as adding the barbed fitting makes the solid ends of the hose a bit heavier (better when sparging into the boil kettle and filling fermenters) and a bit longer (easier to grip). Which option you choose is up to you.
Your hoses are now complete! After a brew day we simply rinse off the hoses and hang them to drip dry over our sink until next time. This stops water from pooling inside the hoses.
Hoses hanging to dry:


