Search
Complete Guide to Building Your Brewery

$19.95 USD

Support our site by using these affiliate links
Control Panel (Safe start interlock)
STEP 1: Install small back plate
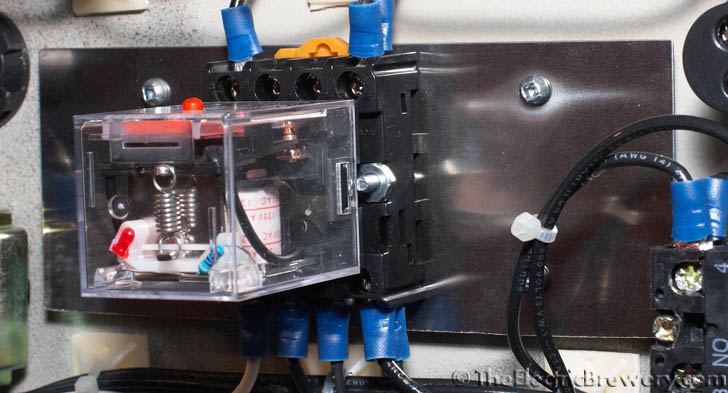
This safe start interlock was added after our control panel had already been designed and built. The orange back plate in our control panel enclosure was therefore already full so we had to find a different location to install the 8-pin relay with 110-120VAC coil and 8-pin socket.
We decided to install a new small back plate on the door in the empty spot between the two pump switches.
We cut a 6x2.5" piece off the remaining 6x10" stainless steel shield that shipped with our Blichmann BoilerMaker kettles for this new plate. Hole locations were measured and drilled with a 3/16" high speed metal drill bit using a drill press. Cutting fluid was used when drilling as even thin stainless steel is very hard to drill through.
This plate was attached to the door using the four existing 1/8 x 1/2" stove bolts that hold the 4x2" black aluminum tag in place. The 8-pin relay socket is then bolted to the center of this new back plate using two 1/8 x 1" stove bolts and nuts.
The new small back plate will be located between the two pump switches: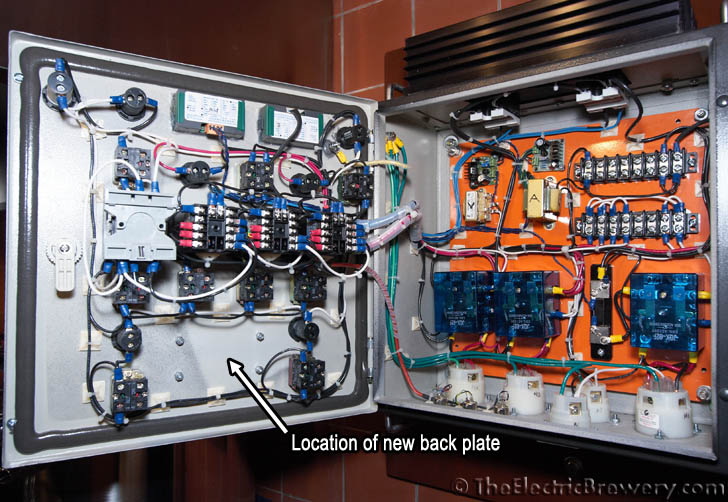
Marking the location of the holes for the new back plate: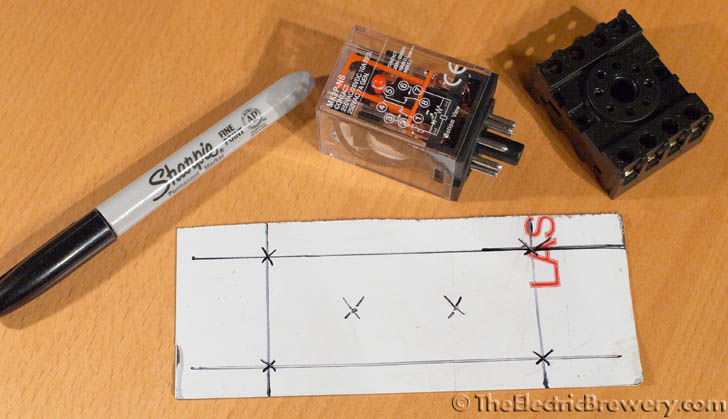
New back plate with relay and socket installed: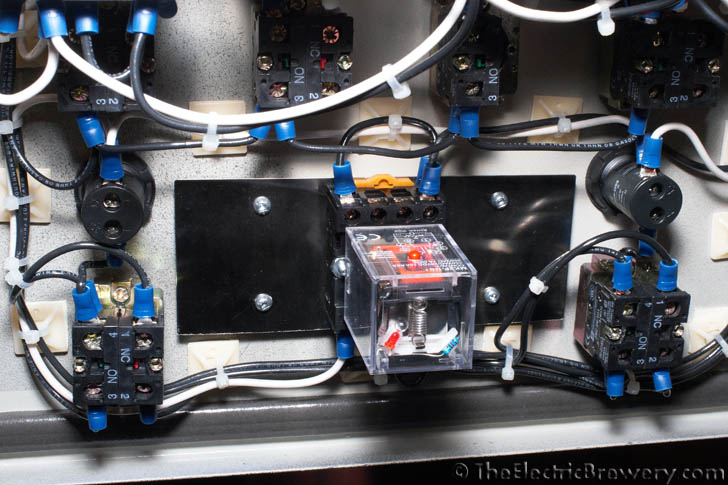
Close-up of the relay and socket: